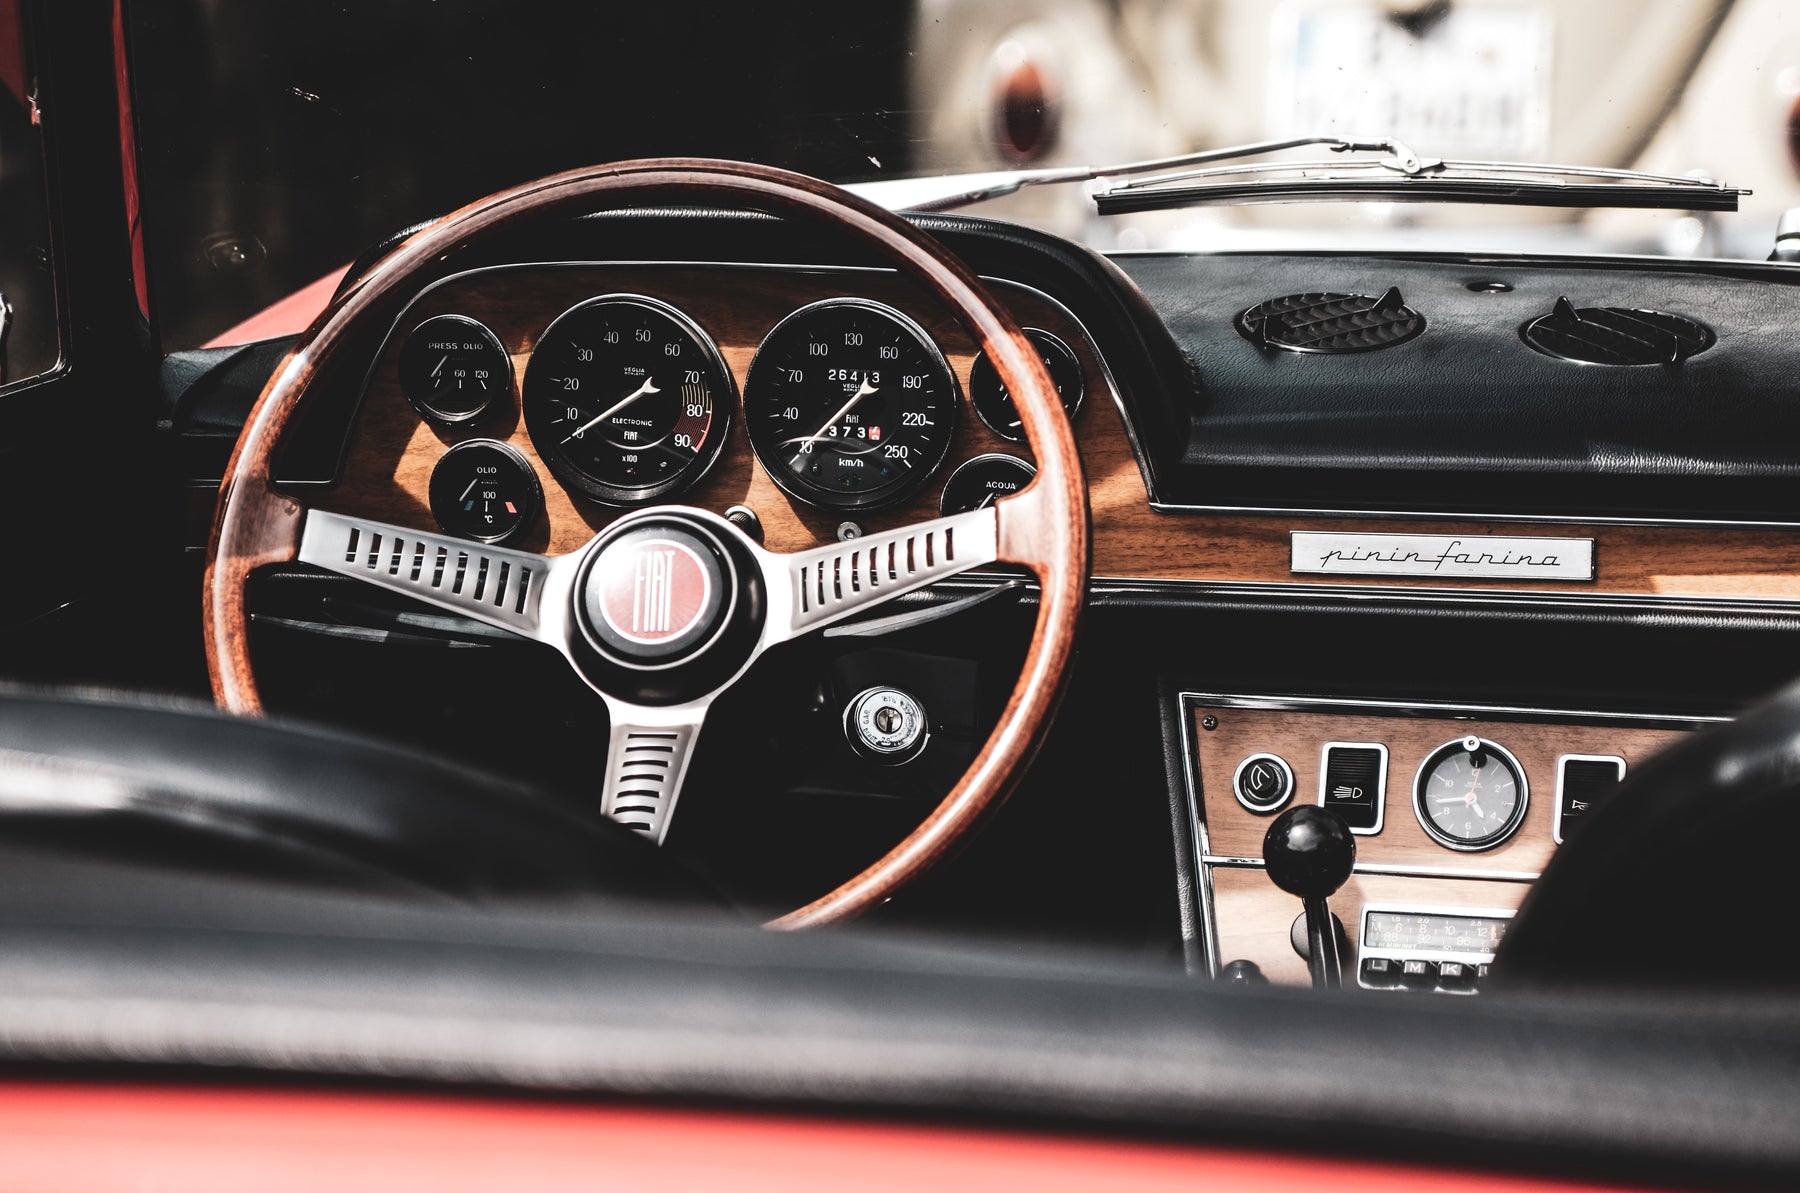
Classic Car Dashboard Restoration
Owners of restored classic cars understand the importance of careful attention to detail and ensuring that only the highest quality materials are used. The beautiful craftsmanship of wooden dashboards in classic cars transforms the entire look and feel of the interior and adds instant value to the vehicle. Wood veneers are a key component of any classic wooden dashboard and in this article, we explain the important role they play in the restoration process.
What is the classic car dashboard restoration process
While there are some variations depending on the condition of the original woodwork, a classic car dashboard restoration process typically involves the following steps:
Removal of the existing veneer
A combination of heat and selected solvents are used to carefully remove the existing veneer on the dashboard before the lacquer finish is sanded away using various grades of sandpaper, leaving behind a smooth surface without any visible scratches.
Carry out repairs
If any repairs are needed to the veneer, these are carried out during this stage. It can include things like repairing rotten woodwork, filling unwanted chips and holes and restoring discoloured or cracked veneer.
Replace missing parts
There may be instances where it is not possible to repair some parts of the dashboard. When this happens, restorers will rely on original drawings or patterns to remanufacture any missing parts that are needed.
Upgrading the veneer
The appropriate veneer (usually around 0.6mm thick) is bonded to the panel using a thin layer of high-quality wood glue. Vacuum pressing is used for curved shapes, while screw pressing is applied for flat shapes. To ensure there are no visible scratches and that the surface is completely flat, the excess veneer is filed before being hand sanded using various grades of sandpaper. The edges can be hand painted to match the original colour, or personalised to something completely unique, depending on the owner’s choice.
Applying the lacquer
A coat of primer is applied before being allowed to dry. Depending on the porosity of the veneer, as many as 5 coats of polyester lacquer are sprayed onto each part. This is then left for 3-4 days to cure, harden and penetrate the wood. Each item is then hand sandpapered using a variety of different grades until there is a completely flat surface, before finally being polished.

Hand polishing
The final touch to the restoration process takes place with the polishing, before being finished with a polishing mop so the surface is completely flat and displays a mirror finish. To seal the wood and ensure further long-term protection, a final hand wax is applied, before the job is finished and the dashboard looks immaculate.
What is the difference between burl and decorative veneer?
Abnormal growth in stumps or knots at the base of the tree are cut to make burl veneer, and due to how difficult it is to obtain, the wood is viewed as one of the best varieties available. It has a strong, marble-like appearance, displaying more veins than you would normally find in standard decorative veneer.

What is the best wood veneer to use in a classic car?
The best wood veneer for a classic car depends on the needs of the vehicle and personal preference. There are hundreds of different wood species that are made into veneers and just as many types of classic cars, so a decision is usually made once the dashboard has been inspected. In many cases, a decorative veneer is recommended for a classic car dashboard as it is more economical.
Can all wood veneers be restored and repaired?
This very much depends on the condition of the wood veneer in the existing dashboard. Typically, wood veneer can be restored and with use of the correct finishes, made to look like new. However, there are instances when a full replacement is the best option as the restoration work would not be able to achieve the required standard.
