How To Repair Water Damaged Wood Veneer
Every kind of wood is susceptible to water damage and wood veneer is no exception. Water spillages can happen at any time around the home and when it happens there are ways to restore the veneer back to its former glory. If this is a problem you are facing, here we explain how to repair water damaged wood veneer.
How can you tell if wood veneer has been damaged by water?
There are a few tell-tale signs that will reveal the signs of water damage on wood veneer.
Shape or texture change
Wood veneer can experience water damage that can warp the wood and if over exposed, it can start to lift away from the substrate beneath as the glue is no longer able to bind. In extreme cases, the veneer may also soften, losing its original texture completely due to absorbing too much moisture.

Discolouration and stains
When water is spilled onto a wood veneer and not immediately wiped away, there is a danger it could leave a stain behind. This will look darker than the surrounding wood and have its own unique discoloured pattern as salt and minerals are left behind as the water evaporates. If the veneer has a finish on the surface, you may also see an unsightly white discoloration appear.
Growing mould
If there is excess moisture in the room due to poor air circulation, mould can start to grow on the veneer. The veneer doesn’t have to come into direct contact with water for this to happen, as it is a result of the quality of air, and only by fixing that can you stop the mould from returning after it has been wiped away.
How to repair water damaged wood veneer
If your wood veneer is exposed to water, there is often a good chance that it can be repaired without having to get a specialist involved. If you remove the water as quickly as possible and stop it from penetrating too far into the wood, you should be able to restore it.
Step 1: Clean the veneer
As with any project, the first thing to do is to clean the veneer. Use gloves for this part as it will involve use of cleaning products. Brush down the veneer to remove any dirt, dust and particles that may be on the surface.
Next, mix two caps of bleach with half a bucket of warm water. Then add in three caps of washing up liquid and blend everything together. Lightly scrub down the veneer with a scrubbing brush. Once finished, rinse away the soap with clean warm water and then let the veneer air dry until moving onto the next step.
Step 2: Stain removal
Take a soft white sheet and add a little bit of wood furniture cleaner (the product instructions should tell you how much is safe to use). Add a few drops of orange oil to the same spot and using circular motions, rub the sheet onto the veneer stains. You can also use salad oil dressing or mayonnaise as an alternative to the orange oil. If this doesn't remove the stain from the wood, you will need to sand and strip the veneer.

Step 3: Sand and strip the veneer
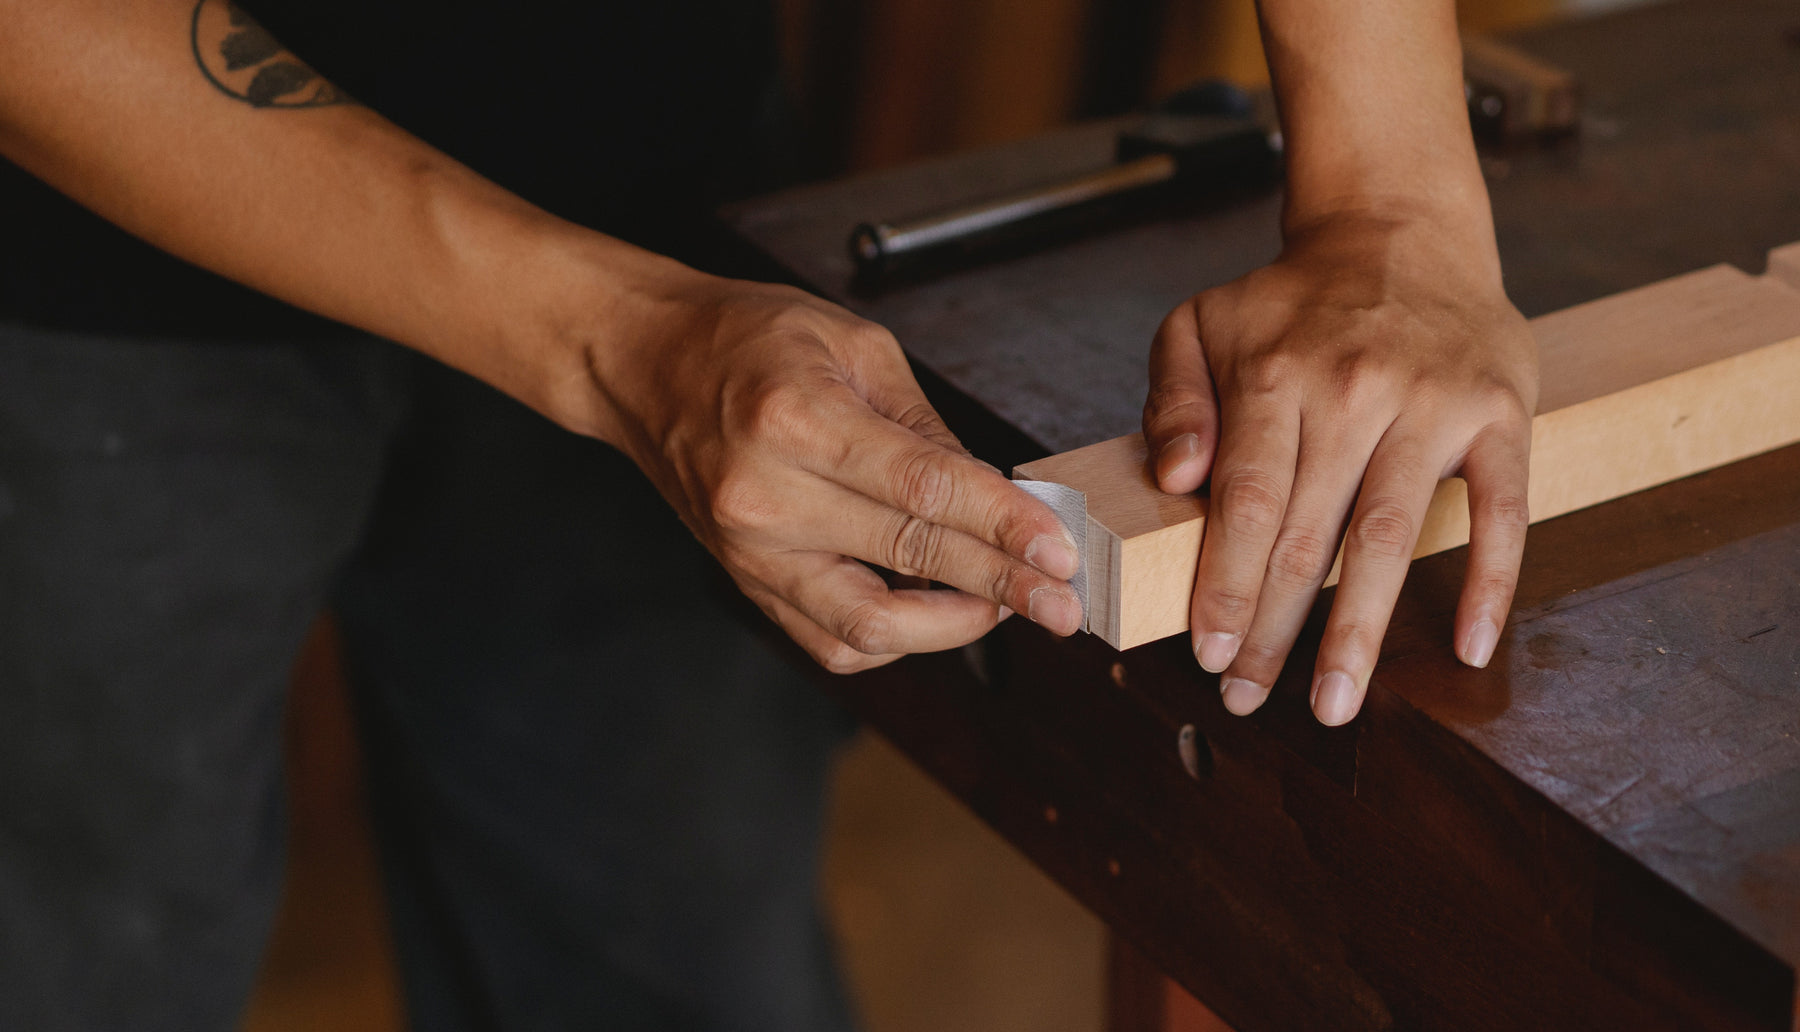
You can easily inhale dust when sanding down wood so it’s a good idea to wear a mask during this part of the process. Using a sander with a 220-grit sandpaper and move in the direction of the grain, making sure to also sand the areas that have been affected by the water.
Take a clean paintbrush to wipe away the dust before applying a chemical stripper to the wood. Once the chemical agent has settled (check the product instructions to see how long you should wait) and then use a knife to scrape away the finish.
Step 4: Adding a varnish
It’s a good idea to think ahead and put some protection in place to shield the veneer against further damage. There are a variety of different varnishes you can apply, and it depends on the environment and how much upkeep you are happy with in the future.
Ensure you pick a waterproof varnish and if possible one that offers protection against insects, as wood is also a welcome home for little bugs. Follow the instructions on the product on how to apply the varnish, which will usually require more than one coat, and observe the drying period as it needs enough time to dry out fully before being used.
Removing white water spots
If white spots have appeared on the veneer after a water spillage, there are a couple of things you can try to remove them.
A liquid furniture polish is usually enough to remove the white spots from the veneer. Alternatively, you can dip a cloth into denatured alcohol and carefully rub away the spots, making sure the existing polish isn’t also removed.
Removing blushing from veneer
Blushing looks similar to white spots, forming a light milky colour on the surface. It can happen when moisture becomes trapped beneath the finish after being exposed to high humidity levels for extended periods. If you want to remove blushing, follow these steps:
Step 1: Apply some linseed oil to the surface of the veneer.
Step 2: Carefully buff the surface so it matches the wood grain, before using a clean cloth to wipe it down.
Step 3: If the finish is already blushed it should be restored. Find out what the existing finish is by testing it with denatured alcohol on a small section. The finish is shellac if the alcohol dissolves and it is lacquered if the alcohol does not dissolve.
Step 4: Choose the relevant solvent to dissolve the finish and remove it from the veneer.
Step 5: Take a bristle brush and rub it across the veneer, following the grain and then allowing at least 24 hours for the surface to dry.
